Installation
This section covers the steps to set up your local environment for Solana development.
Install Dependencies
- Windows users must first install WSL (Windows subsystem for Linux) and then install the dependencies specified in the Linux section below.
- Linux users should first install the dependencies specified in the Linux section below.
- Mac users should start with the Rust installation instructions below.
To develop Solana programs on Windows you must use WSL (Windows subsystem for Linux). All additional dependencies must be installed through the Linux terminal.
Once WSL is installed, install the dependencies specified in the Linux section below before proceeding to install Rust, Solana CLI, and Anchor CLI.
To install WSL, run the following command in Windows PowerShell:
wsl --install
The install process will prompt you to create a default user account.
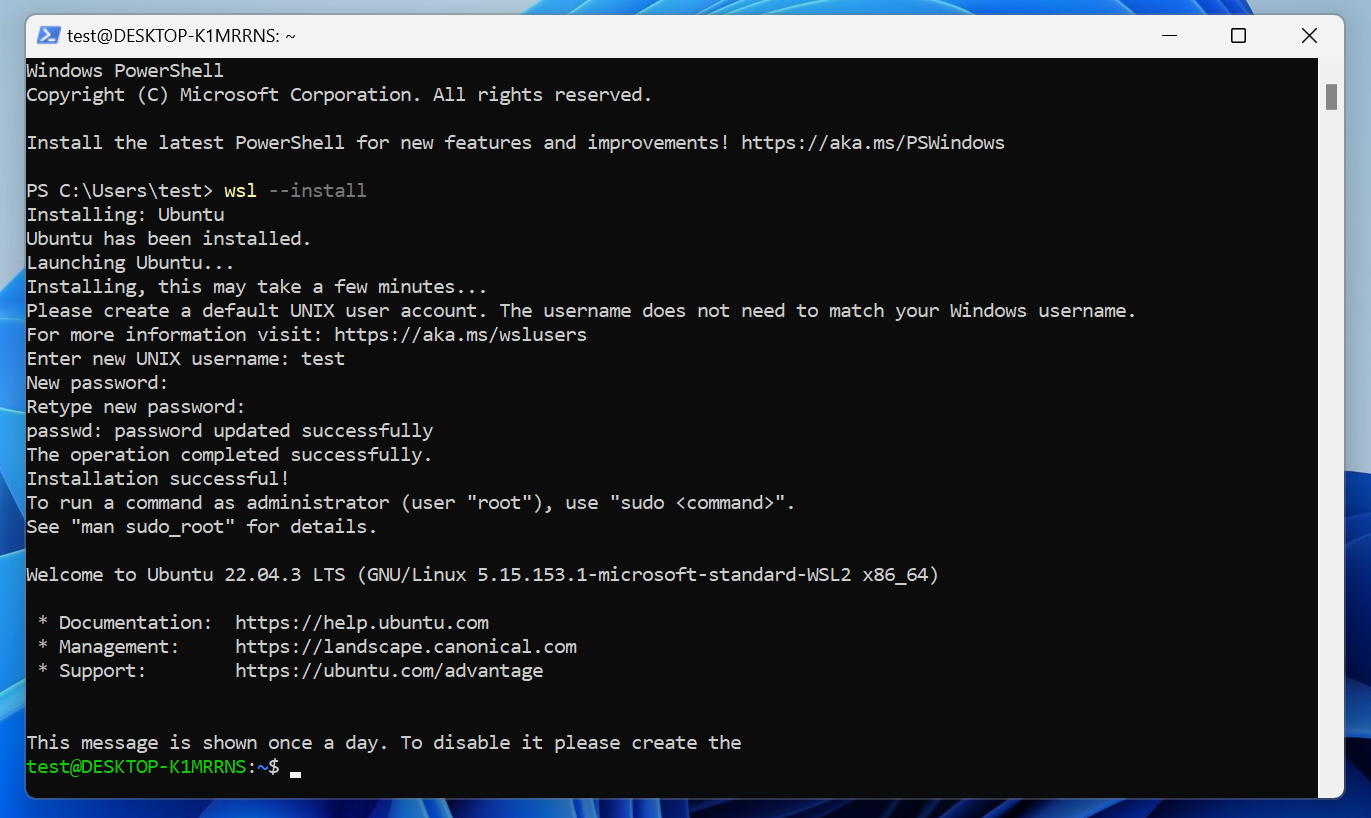
By default, WSL installs Ubuntu. You can open a Linux terminal by searching "Ubuntu" in the Search bar.
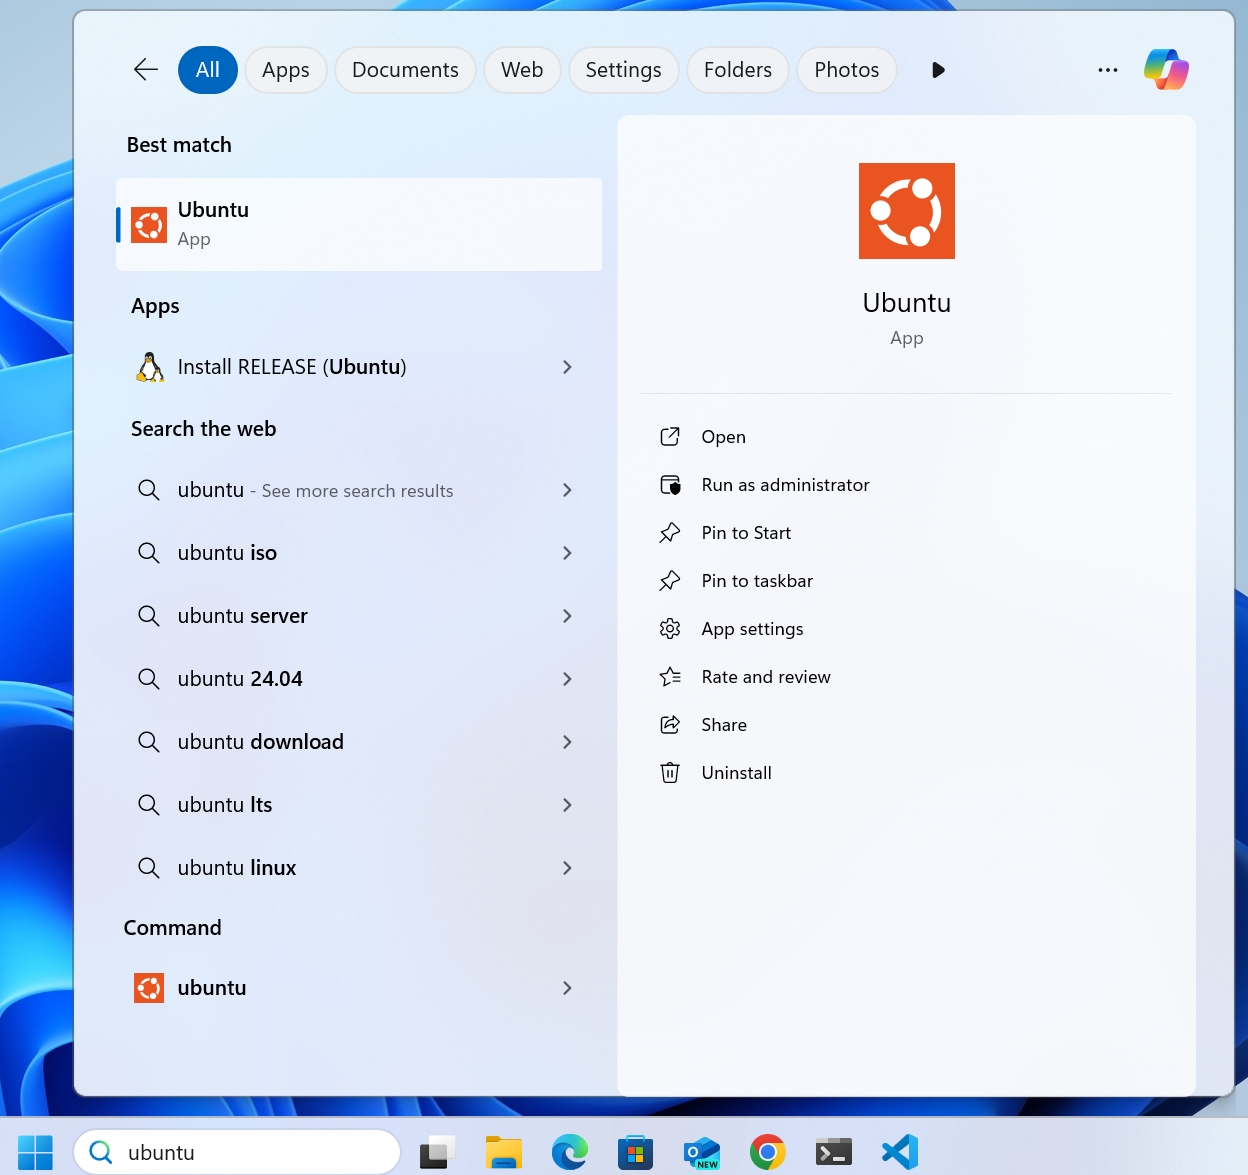
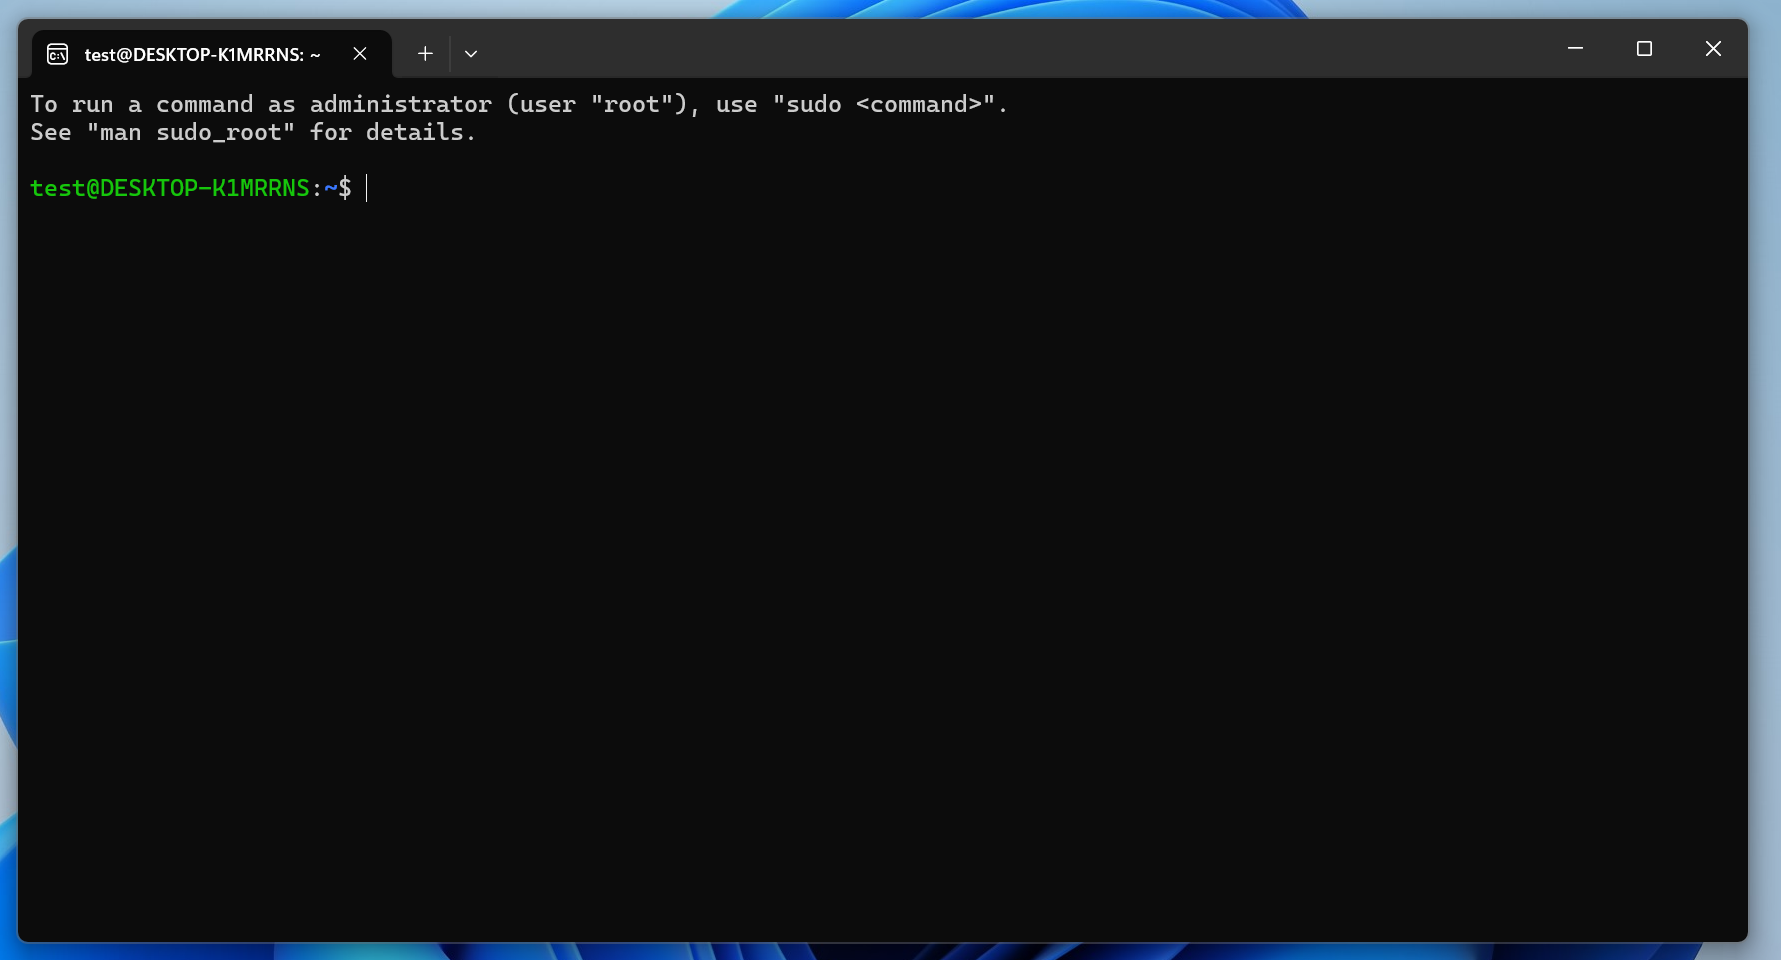
If your Ubuntu terminal looks like the image below, you may encounter an issue
where ctrl + v (paste keyboard shortcut) doesn't work in the terminal.
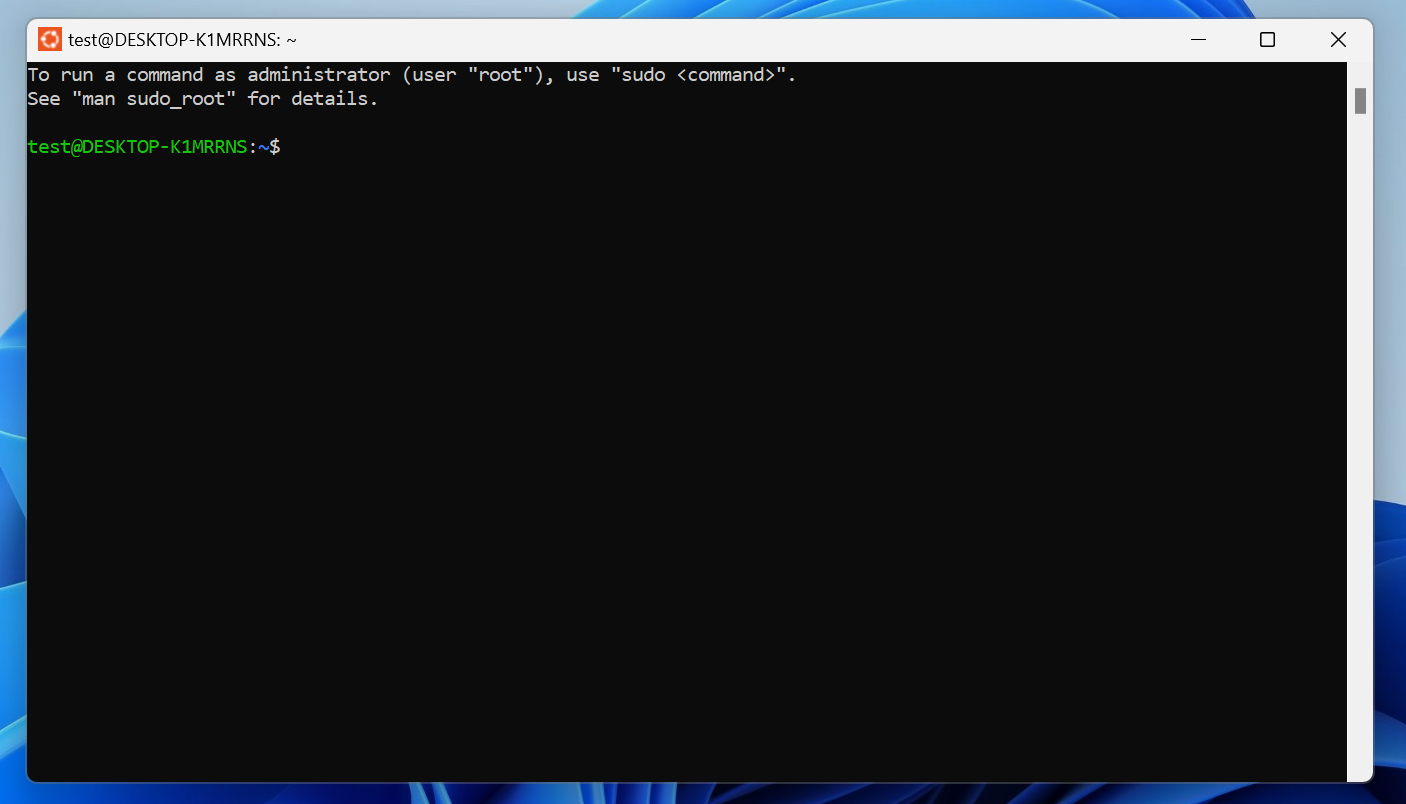
If you encounter this issue, open Windows Terminal by searching for "Terminal" in the Search bar.
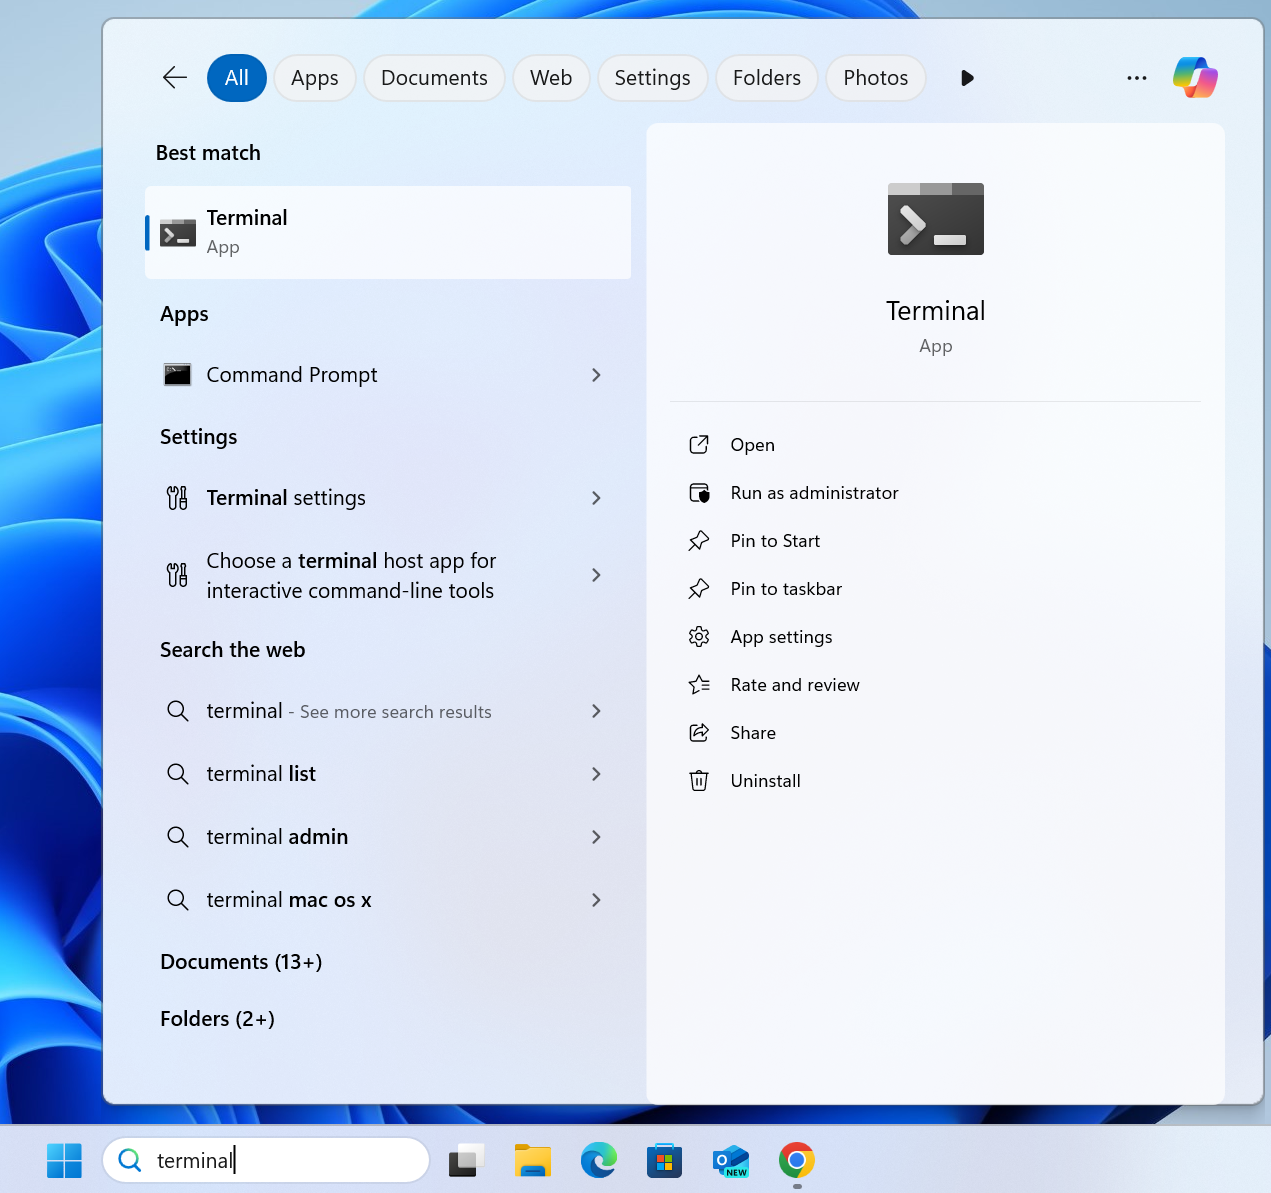
Next, close the Windows Terminal and reopen a Linux terminal by searching for
Ubuntu again. The terminal should now look like the image below, where
ctrl + v (paste keyboard shortcut) works.
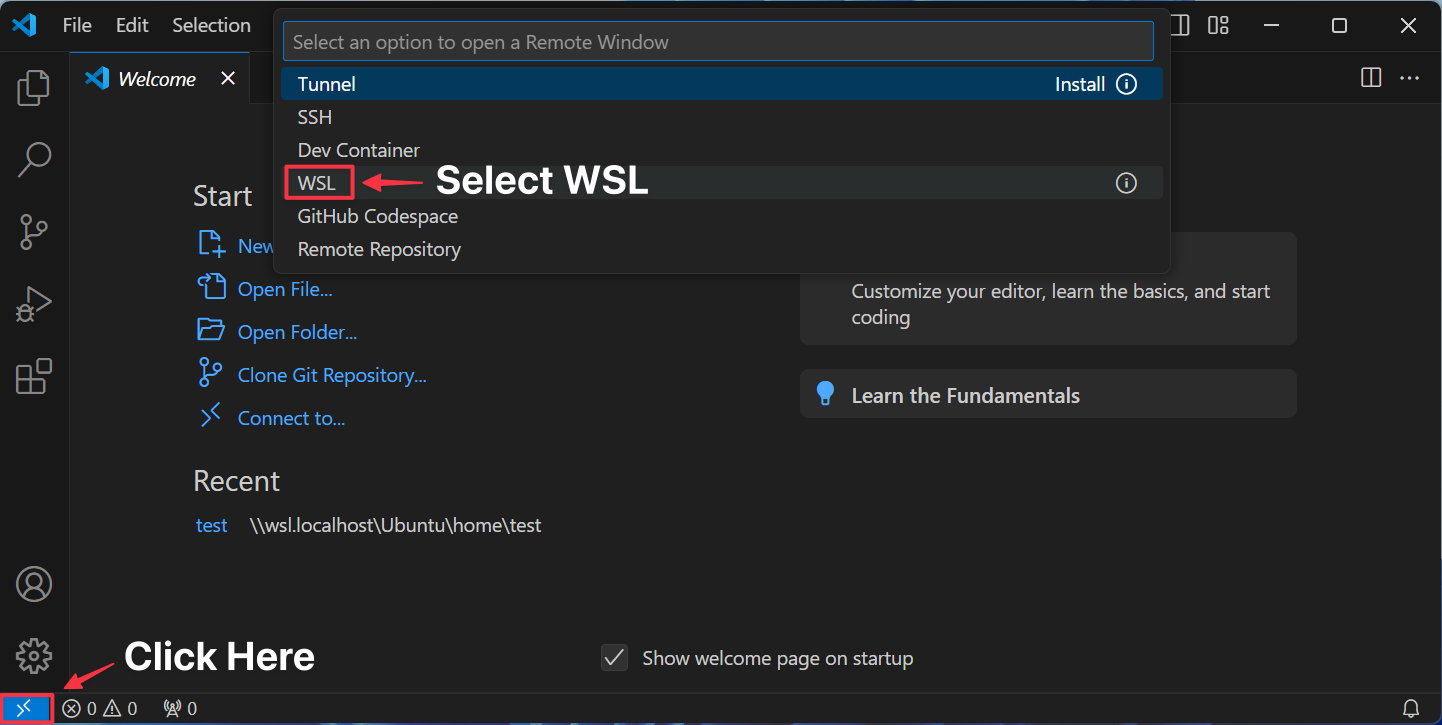
If you are using VS Code, the WSL extension enables you to use WSL and VS Code together.
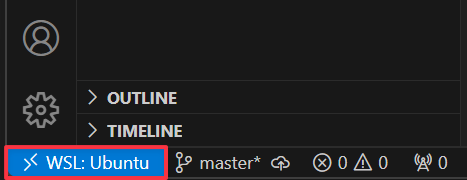
You should then see the following in the VS Code status bar:
Once you have WSL set up, all additional dependencies must be installed through the Linux terminal. Install the dependencies specified in the Linux section below before proceeding to install Rust, Solana CLI, and Anchor CLI.
The following dependencies are required for the Anchor CLI installation.
First, run the following command:
sudo apt-get update
Next, install the following dependencies:
sudo apt-get install -y \
    build-essential \
    pkg-config \
    libudev-dev llvm libclang-dev \
    protobuf-compiler libssl-dev
If you encounter the following error when installing protobuf-compiler, make
sure you first run sudo apt-get update:
Package protobuf-compiler is not available, but is referred to by another package.
This may mean that the package is missing, has been obsoleted, or
is only available from another source
Install Rust
Solana programs are written in the Rust programming language.
The recommended installation method for Rust is rustup.
Run the following command to install Rust:
curl --proto '=https' --tlsv1.2 -sSf https://sh.rustup.rs | sh -s -- -y
You should see the following message after the installation completes:
Rust is installed now. Great!

To get started you may need to restart your current shell.
This would reload your PATH environment variable to include
Cargo's bin directory ($HOME/.cargo/bin).

To configure your current shell, you need to source
the corresponding env file under $HOME/.cargo.

This is usually done by running one of the following (note the leading DOT):
. "$HOME/.cargo/env"            # For sh/bash/zsh/ash/dash/pdksh
source "$HOME/.cargo/env.fish"  # For fish
Run the following command to reload your PATH environment variable to include Cargo's bin directory:
. "$HOME/.cargo/env"
To verify that the installation was successful, check the Rust version:
rustc --version
You should see output similar to the following:
rustc 1.80.1 (3f5fd8dd4 2024-08-06)
Install the Solana CLI
The Solana CLI provides all the tools required to build and deploy Solana programs.
Install the Solana CLI tool suite using the official install command:
sh -c "$(curl -sSfL https://release.anza.xyz/stable/install)"
You can replace stable with the release tag matching the software version of
your desired release (i.e. v2.0.3), or use one of the three symbolic channel
names: stable, beta, or edge.
If it is your first time installing the Solana CLI, you may see the following message prompting you to add a PATH environment variable:
Close and reopen your terminal to apply the PATH changes or run the following in your existing shell:

export PATH="/Users/test/.local/share/solana/install/active_release/bin:$PATH"
<Tabs groupId="language" items={['Linux', 'Mac']}>
If you are using a Linux or WSL terminal, you can add the PATH environment variable to your shell configuration file by running the command logged from the installation or by restarting your terminal.
export PATH="$HOME/.local/share/solana/install/active_release/bin:$PATH"
If you're on Mac using zsh, running the default export PATH command logged
from the installation does not persist once you close your terminal.
Instead, you can add the PATH to your shell configuration file by running the following command:
echo 'export PATH="$HOME/.local/share/solana/install/active_release/bin:$PATH"' >> ~/.zshrc
Then run the following command to refresh the terminal session or restart your terminal.
source ~/.zshrc
To verify that the installation was successful, check the Solana CLI version:
solana --version
You should see output similar to the following:
solana-cli 1.18.22 (src:9efdd74b; feat:4215500110, client:Agave)
You can view all available versions on the Agave Github repo.
Agave is the validator client from Anza, formerly known as Solana Labs validator client.
To later update the Solana CLI to the latest version, you can use the following command:
agave-install update
Install Anchor CLI
Anchor is a framework for developing Solana programs. The Anchor framework leverages Rust macros to simplify the process of writing Solana programs.
Install the Anchor CLI with the following command:
cargo install --git https://github.com/coral-xyz/anchor --tag v0.30.1 anchor-cli
You may see the following warning during installation. However, it does not affect the installation process.
warning: unexpected `cfg` condition name: `nightly`
 --> cli/src/lib.rs:1:13
  |
1 | #![cfg_attr(nightly, feature(proc_macro_span))]
  |             ^^^^^^^
  |
  = help: expected names are: `clippy`, `debug_assertions`, `doc`, `docsrs`, `doctest`, `feature`, `miri`, `overflow_checks`, `panic`, `proc_macro`, `relocation_model`, `rustfmt`, `sanitize`, `sanitizer_cfi_generalize_pointers`, `sanitizer_cfi_normalize_integers`, `target_abi`, `target_arch`, `target_endian`, `target_env`, `target_family`, `target_feature`, `target_has_atomic`, `target_has_atomic_equal_alignment`, `target_has_atomic_load_store`, `target_os`, `target_pointer_width`, `target_thread_local`, `target_vendor`, `test`, `ub_checks`, `unix`, and `windows`
  = help: consider using a Cargo feature instead
  = help: or consider adding in `Cargo.toml` the `check-cfg` lint config for the lint:
           [lints.rust]
           unexpected_cfgs = { level = "warn", check-cfg = ['cfg(nightly)'] }
  = help: or consider adding `println!("cargo::rustc-check-cfg=cfg(nightly)");` to the top of the `build.rs`
  = note: see <https://doc.rust-lang.org/nightly/rustc/check-cfg/cargo-specifics.html> for more information about checking conditional configuration
  = note: `#[warn(unexpected_cfgs)]` on by default

warning: `anchor-cli` (lib) generated 1 warning
To verify that the installation was successful, check the Ancor CLI version:
anchor --version
You should see output similar to the following:
anchor-cli 0.30.1
When installing the Anchor CLI on Linux or WSL, you may encounter this error:
error: could not exec the linker cc = note: Permission denied (os error 13)
If you see this error message, follow these steps:
- Install the dependencies listed in the Linux section at the top of this page.
- Retry installing the Anchor CLI.
Node.js and Yarn
Node.js and Yarn are required to run the default Anchor project test file
(TypeScript) created with the anchor init command. (Rust test template is also
available using anchor init --test-template rust)
The recommended way to install node is using Node Version Manager (nvm).
Install nvm using the following command:
curl -o- https://raw.githubusercontent.com/nvm-sh/nvm/master/install.sh | bash
Restart your terminal and verify that nvm is installed:
command -v nvm
Next, use nvm to install node:
nvm install node
To verify that the installation was successful, check the Node version:
node --version
You should see output similar to the following:
v22.7.0
Install Yarn:
npm install --global yarn
To verify that the installation was successful, check the Yarn version:
yarn --version
You should the following output:
1.22.1
If you are on Linux or WSL and encounter the following errors when running
anchor test after creating a new Anchor project, it's may be due to missing
Node.js or Yarn:
Permission denied (os error 13)
No such file or directory (os error 2)
Solana CLI Basics
This section will walk through some common Solana CLI commands to get you started.
Solana Config
To see your current config:
solana config get
You should see output similar to the following:
Config File: /Users/test/.config/solana/cli/config.yml
RPC URL: https://api.mainnet-beta.solana.com
WebSocket URL: wss://api.mainnet-beta.solana.com/ (computed)
Keypair Path: /Users/test/.config/solana/id.json
Commitment: confirmed
The RPC URL and Websocket URL specific the Solana cluster the CLI will make requests to. By default this will be mainnet-beta.
You can update the Solana CLI cluster using the following commands:
solana config set --url mainnet-beta
solana config set --url devnet
solana config set --url localhost
solana config set --url testnet
You can also use the following short options:
solana config set -um    # For mainnet-beta
solana config set -ud    # For devnet
solana config set -ul    # For localhost
solana config set -ut    # For testnet
The Keypair Path specifies the location of the default wallet used by the Solana
CLI (to pay transaction fees and deploy programs). The default path is
~/.config/solana/id.json. The next step walks through how to generate a
keypair at the default location.
Create Wallet
To interact with the Solana network using the Solana CLI, you need a Solana wallet funded with SOL.
To generate a keypair at the default Keypair Path, run the following command:
solana-keygen new
You should see output similar to the following:
Generating a new keypair

For added security, enter a BIP39 passphrase

NOTE! This passphrase improves security of the recovery seed phrae NOT the
keypair file itself, which is stored as insecure plain text

BIP39 Passphrase (empty for none):

Wrote new keypair to /Users/test/.config/solana/id.json
===========================================================================
pubkey: 8dBTPrjnkXyuQK3KDt9wrZBfizEZijmmUQXVHpFbVwGT
===========================================================================
Save this seed phrase and your BIP39 passphrase to recover your new keypair:
cream bleak tortoise ocean nasty game gift forget fancy salon mimic amazing
===========================================================================
If you already have a file system wallet saved at the default location, this
command will NOT override it unless you explicitly force override using the
--force flag.
Once a keypair is generated, you can get the address (public key) of the keypair with the following command:
solana address
Airdrop SOL
Once you've set up your local wallet, request an airdrop of SOL to fund your wallet. You need SOL to pay for transaction fees and to deploy programs.
Set your cluster to the devnet:
solana config set -ud
Then request an airdrop of devnet SOL:
solana airdrop 2
To check your wallet's SOL balance, run the following command:
solana balance
The solana airdrop command is currently limited to 5 SOL per request on
devnet. Errors are likely due to rate limits.
Alternatively, you can get devnet SOL using the Solana Web Faucet.
Run Local Validator
The Solana CLI comes with the test validator built-in. Running a local validator will allow you to deploy and test your programs locally.
In a separate terminal, run the following command to start a local validator:
solana-test-validator
In WSL you may need to first navigate to a folder where you have default write access:
cd ~
mkdir validator
cd validator
solana-test-validator
Make sure to update the Solana CLI config to localhost before commands.
solana config set -ul