Writing to Network
Now that we've explored reading from the Solana network, let's learn how to write data to it. On Solana, we interact with the network by sending transactions made up of instructions. These instructions are defined by programs, which contain the business logic for how accounts should be updated.
Let's walk through two common operations, transferring SOL and creating a token, to demonstrate how to build and send transactions. For more details, refer to the Transactions and Instructions and Fees on Solana pages.
Transfer SOL
We'll start with a simple SOL transfer from your wallet to another account. This requires invoking the transfer instruction on the System Program.
Open Example 1
Click this link to open the example in Solana Playground. You'll see this code:
import {
  LAMPORTS_PER_SOL,
  SystemProgram,
  Transaction,
  sendAndConfirmTransaction,
  Keypair,
} from "@solana/web3.js";

const sender = pg.wallet.keypair;
const receiver = new Keypair();

const transferInstruction = SystemProgram.transfer({
  fromPubkey: sender.publicKey,
  toPubkey: receiver.publicKey,
  lamports: 0.01 * LAMPORTS_PER_SOL,
});

const transaction = new Transaction().add(transferInstruction);

const transactionSignature = await sendAndConfirmTransaction(
  pg.connection,
  transaction,
  [sender],
);

console.log(
  "Transaction Signature:",
  `https://solana.fm/tx/${transactionSignature}?cluster=devnet-solana`,
);
This script does the following:
-
Set your Playground wallet as the sender
const sender = pg.wallet.keypair; -
Creates a new keypair as the receiver
const receiver = new Keypair(); -
Constructs a transfer instruction to transfer 0.01 SOL
const transferInstruction = SystemProgram.transfer({
  fromPubkey: sender.publicKey,
  toPubkey: receiver.publicKey,
  lamports: 0.01 * LAMPORTS_PER_SOL,
}); -
Builds a transaction including the transfer instruction
const transaction = new Transaction().add(transferInstruction); -
Sends and confirms the transaction
const transactionSignature = await sendAndConfirmTransaction(
  pg.connection,
  transaction,
  [sender],
); -
Prints out a link to the SolanaFM explorer in the Playground terminal to view the transaction details
console.log(
  "Transaction Signature:",
  `https://solana.fm/tx/${transactionSignature}?cluster=devnet-solana`,
);
Run Example 1
Run the code using the run command.
run
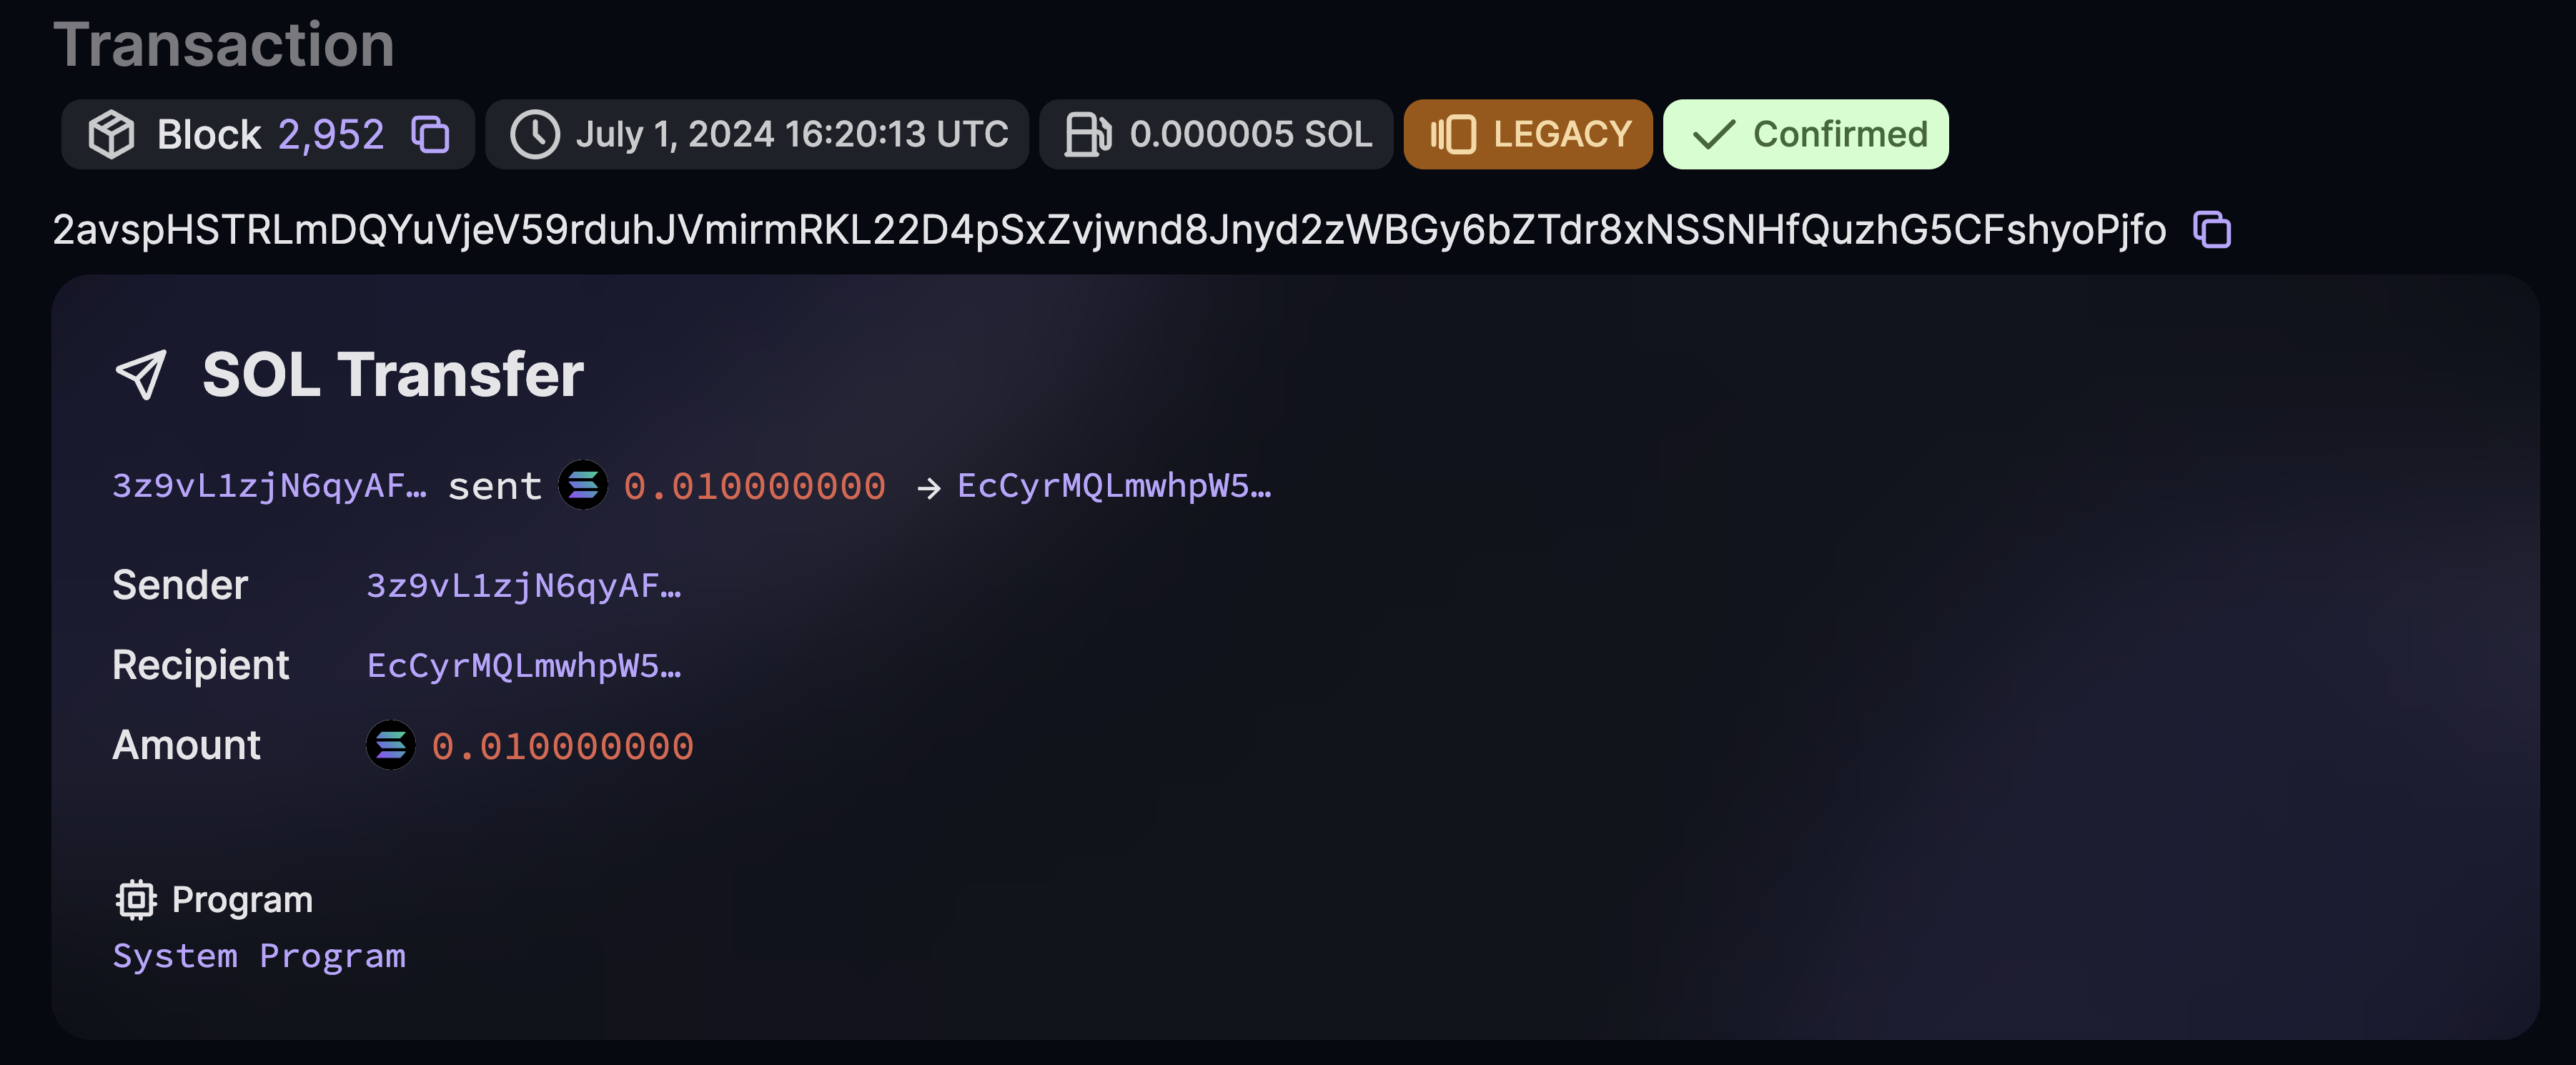
Click on the output link to view the transaction details on the SolanaFM explorer.
Running client...
  client.ts:
    Transaction Signature: https://solana.fm/tx/he9dBwrEPhrfrx2BaX4cUmUbY22DEyqZ837zrGrFRnYEBmKhCb5SvoaUeRKSeLFXiGxC8hFY5eDbHqSJ7NYYo42?cluster=devnet-solana

You've just sent your first transaction on Solana! Notice how we created an instruction, added it to a transaction, and then sent that transaction to the network. This is the basic process for building any transaction.
Create a Token
Now, let's create a new token by creating and initializing a Mint account. This requires two instructions:
- Invoke the System Program to create a new account
- Invoke the Token Extensions Program to initialize the account data
Open Example 2
Click this link to open the example in Solana Playground. You'll see the following code:
import {
  Connection,
  Keypair,
  SystemProgram,
  Transaction,
  clusterApiUrl,
  sendAndConfirmTransaction,
} from "@solana/web3.js";
import {
  MINT_SIZE,
  TOKEN_2022_PROGRAM_ID,
  createInitializeMint2Instruction,
  getMinimumBalanceForRentExemptMint,
} from "@solana/spl-token";

const wallet = pg.wallet;
const connection = new Connection(clusterApiUrl("devnet"), "confirmed");

// Generate keypair to use as address of mint account
const mint = new Keypair();

// Calculate minimum lamports for space required by mint account
const rentLamports = await getMinimumBalanceForRentExemptMint(connection);

// Instruction to create new account with space for new mint account
const createAccountInstruction = SystemProgram.createAccount({
  fromPubkey: wallet.publicKey,
  newAccountPubkey: mint.publicKey,
  space: MINT_SIZE,
  lamports: rentLamports,
  programId: TOKEN_2022_PROGRAM_ID,
});

// Instruction to initialize mint account
const initializeMintInstruction = createInitializeMint2Instruction(
  mint.publicKey,
  2, // decimals
  wallet.publicKey, // mint authority
  wallet.publicKey, // freeze authority
  TOKEN_2022_PROGRAM_ID,
);

// Build transaction with instructions to create new account and initialize mint account
const transaction = new Transaction().add(
  createAccountInstruction,
  initializeMintInstruction,
);

const transactionSignature = await sendAndConfirmTransaction(
  connection,
  transaction,
  [
    wallet.keypair, // payer
    mint, // mint address keypair
  ],
);

console.log(
  "\nTransaction Signature:",
  `https://solana.fm/tx/${transactionSignature}?cluster=devnet-solana`,
);

console.log(
  "\nMint Account:",
  `https://solana.fm/address/${mint.publicKey}?cluster=devnet-solana`,
);
This script performs the following steps:
-
Sets up your Playground wallet and a connection to the Solana devnet
const wallet = pg.wallet;
const connection = new Connection(clusterApiUrl("devnet"), "confirmed"); -
Generates a new keypair for the mint account
const mint = new Keypair(); -
Calculates the minimum lamports needed for a Mint account
const rentLamports = await getMinimumBalanceForRentExemptMint(connection); -
Creates an instruction to create a new account for the mint, specifying the Token Extensions program (
TOKEN_2022_PROGRAM_ID) as the owner of the new accountconst createAccountInstruction = SystemProgram.createAccount({
fromPubkey: wallet.publicKey,
newAccountPubkey: mint.publicKey,
space: MINT_SIZE,
lamports: rentLamports,
programId: TOKEN_2022_PROGRAM_ID,
}); -
Creates an instruction to initialize the mint account data
const initializeMintInstruction = createInitializeMint2Instruction(
  mint.publicKey,
  2,
  wallet.publicKey,
  wallet.publicKey,
  TOKEN_2022_PROGRAM_ID,
); -
Adds both instructions to a single transaction
const transaction = new Transaction().add(
  createAccountInstruction,
  initializeMintInstruction,
); -
Sends and confirms the transaction. Both the wallet and mint keypair are passed in as signers on the transaction. The wallet is required to pay for the creation of the new account. The mint keypair is required because we are using its publickey as the address of the new account.
const transactionSignature = await sendAndConfirmTransaction(
  connection,
  transaction,
  [wallet.keypair, mint],
); -
Prints out links to view the transaction and mint account details on SolanaFM
console.log(
  "\nTransaction Signature:",
  `https://solana.fm/tx/${transactionSignature}?cluster=devnet-solana`,
);

console.log(
  "\nMint Account:",
  `https://solana.fm/address/${mint.publicKey}?cluster=devnet-solana`,
);
Run Example 2
Run the code using the run command.
run
You'll see two links printed to the Playground terminal:
- One for the transaction details
- One for the newly created mint account
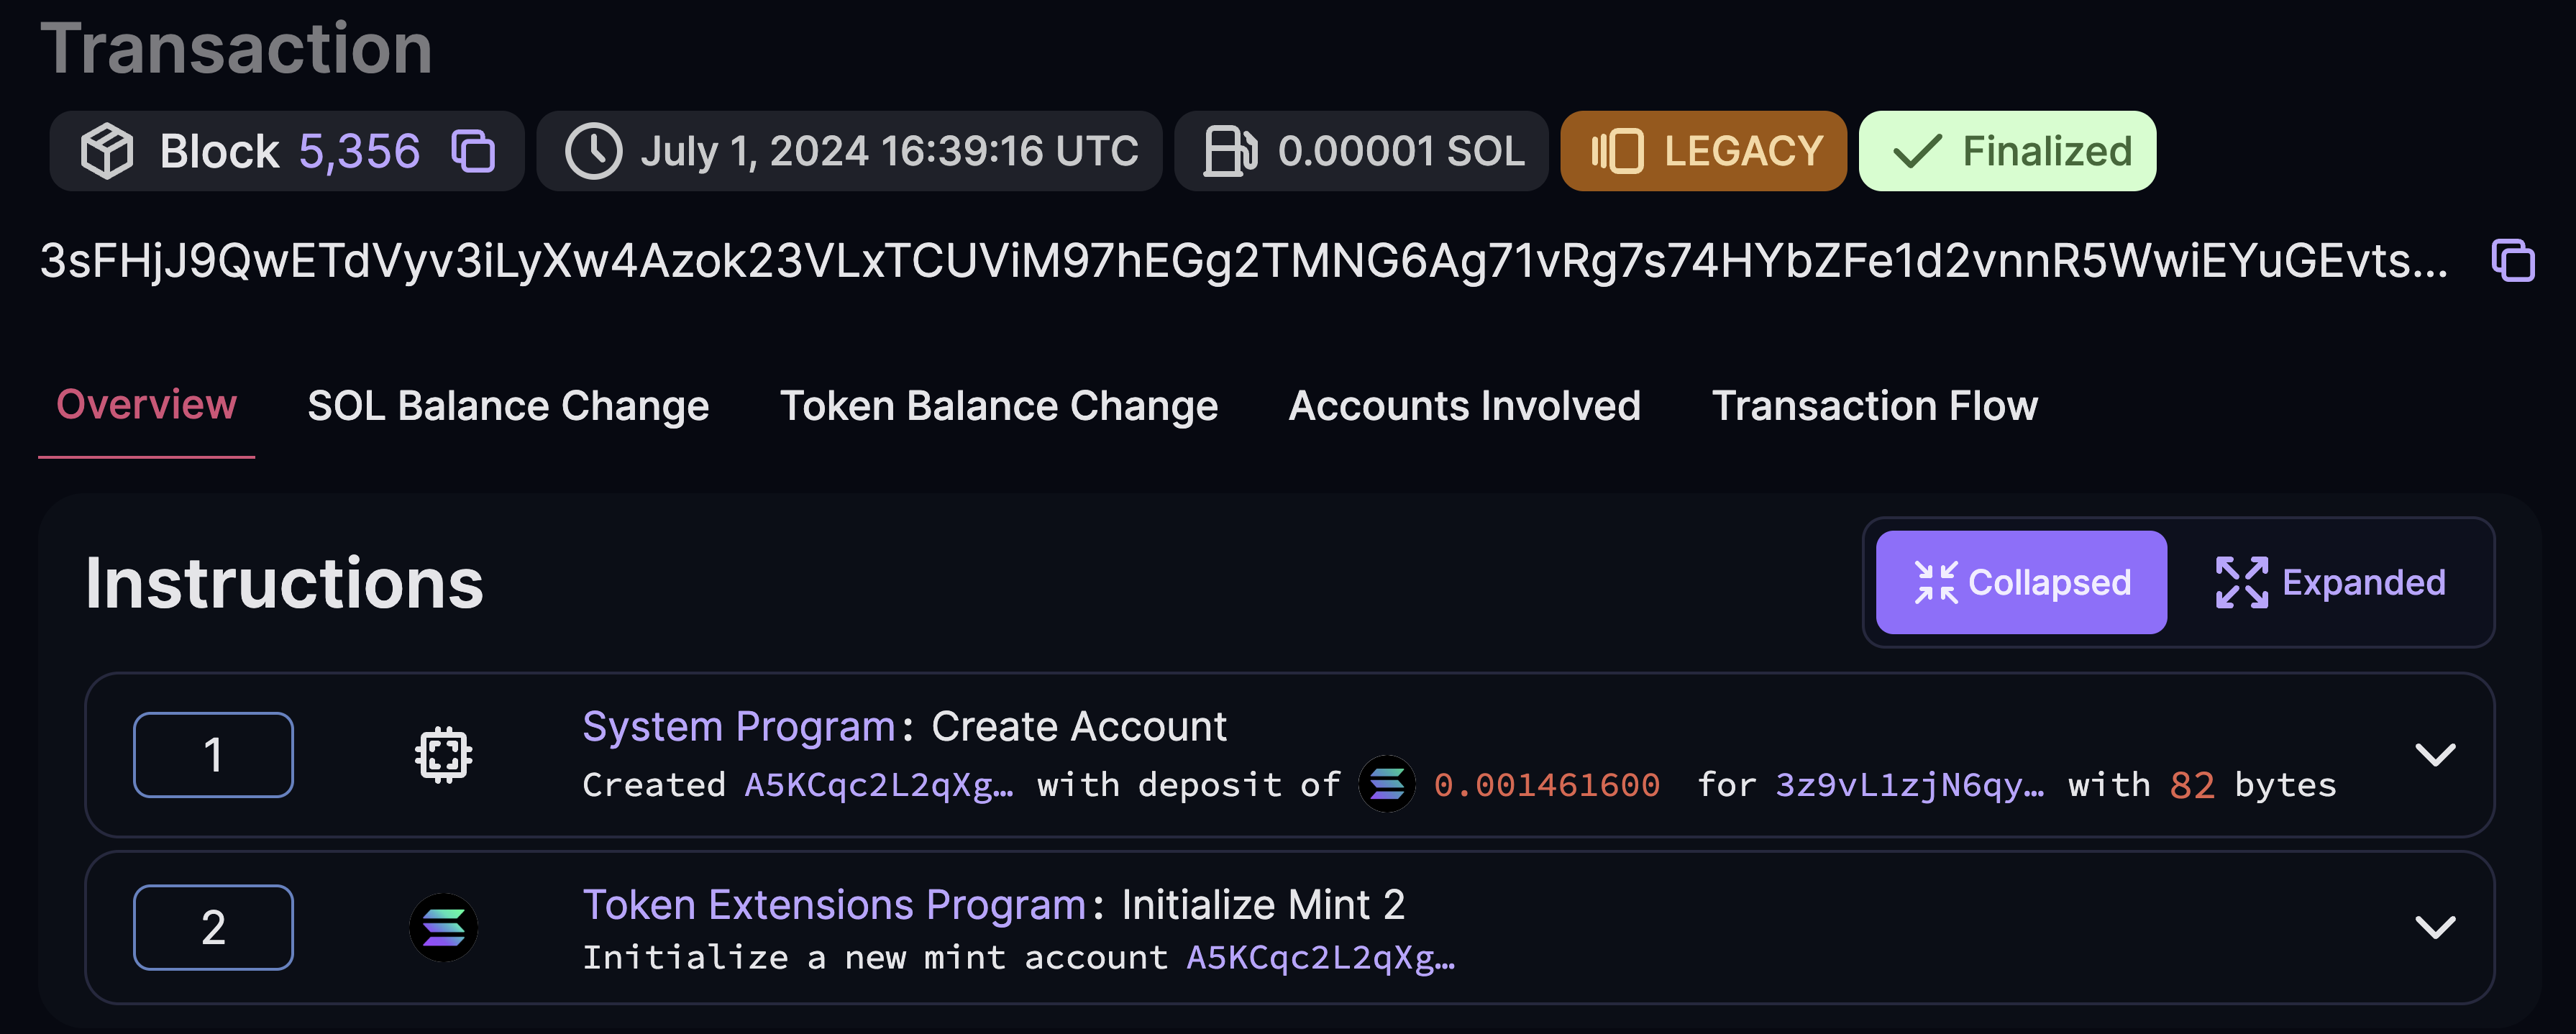
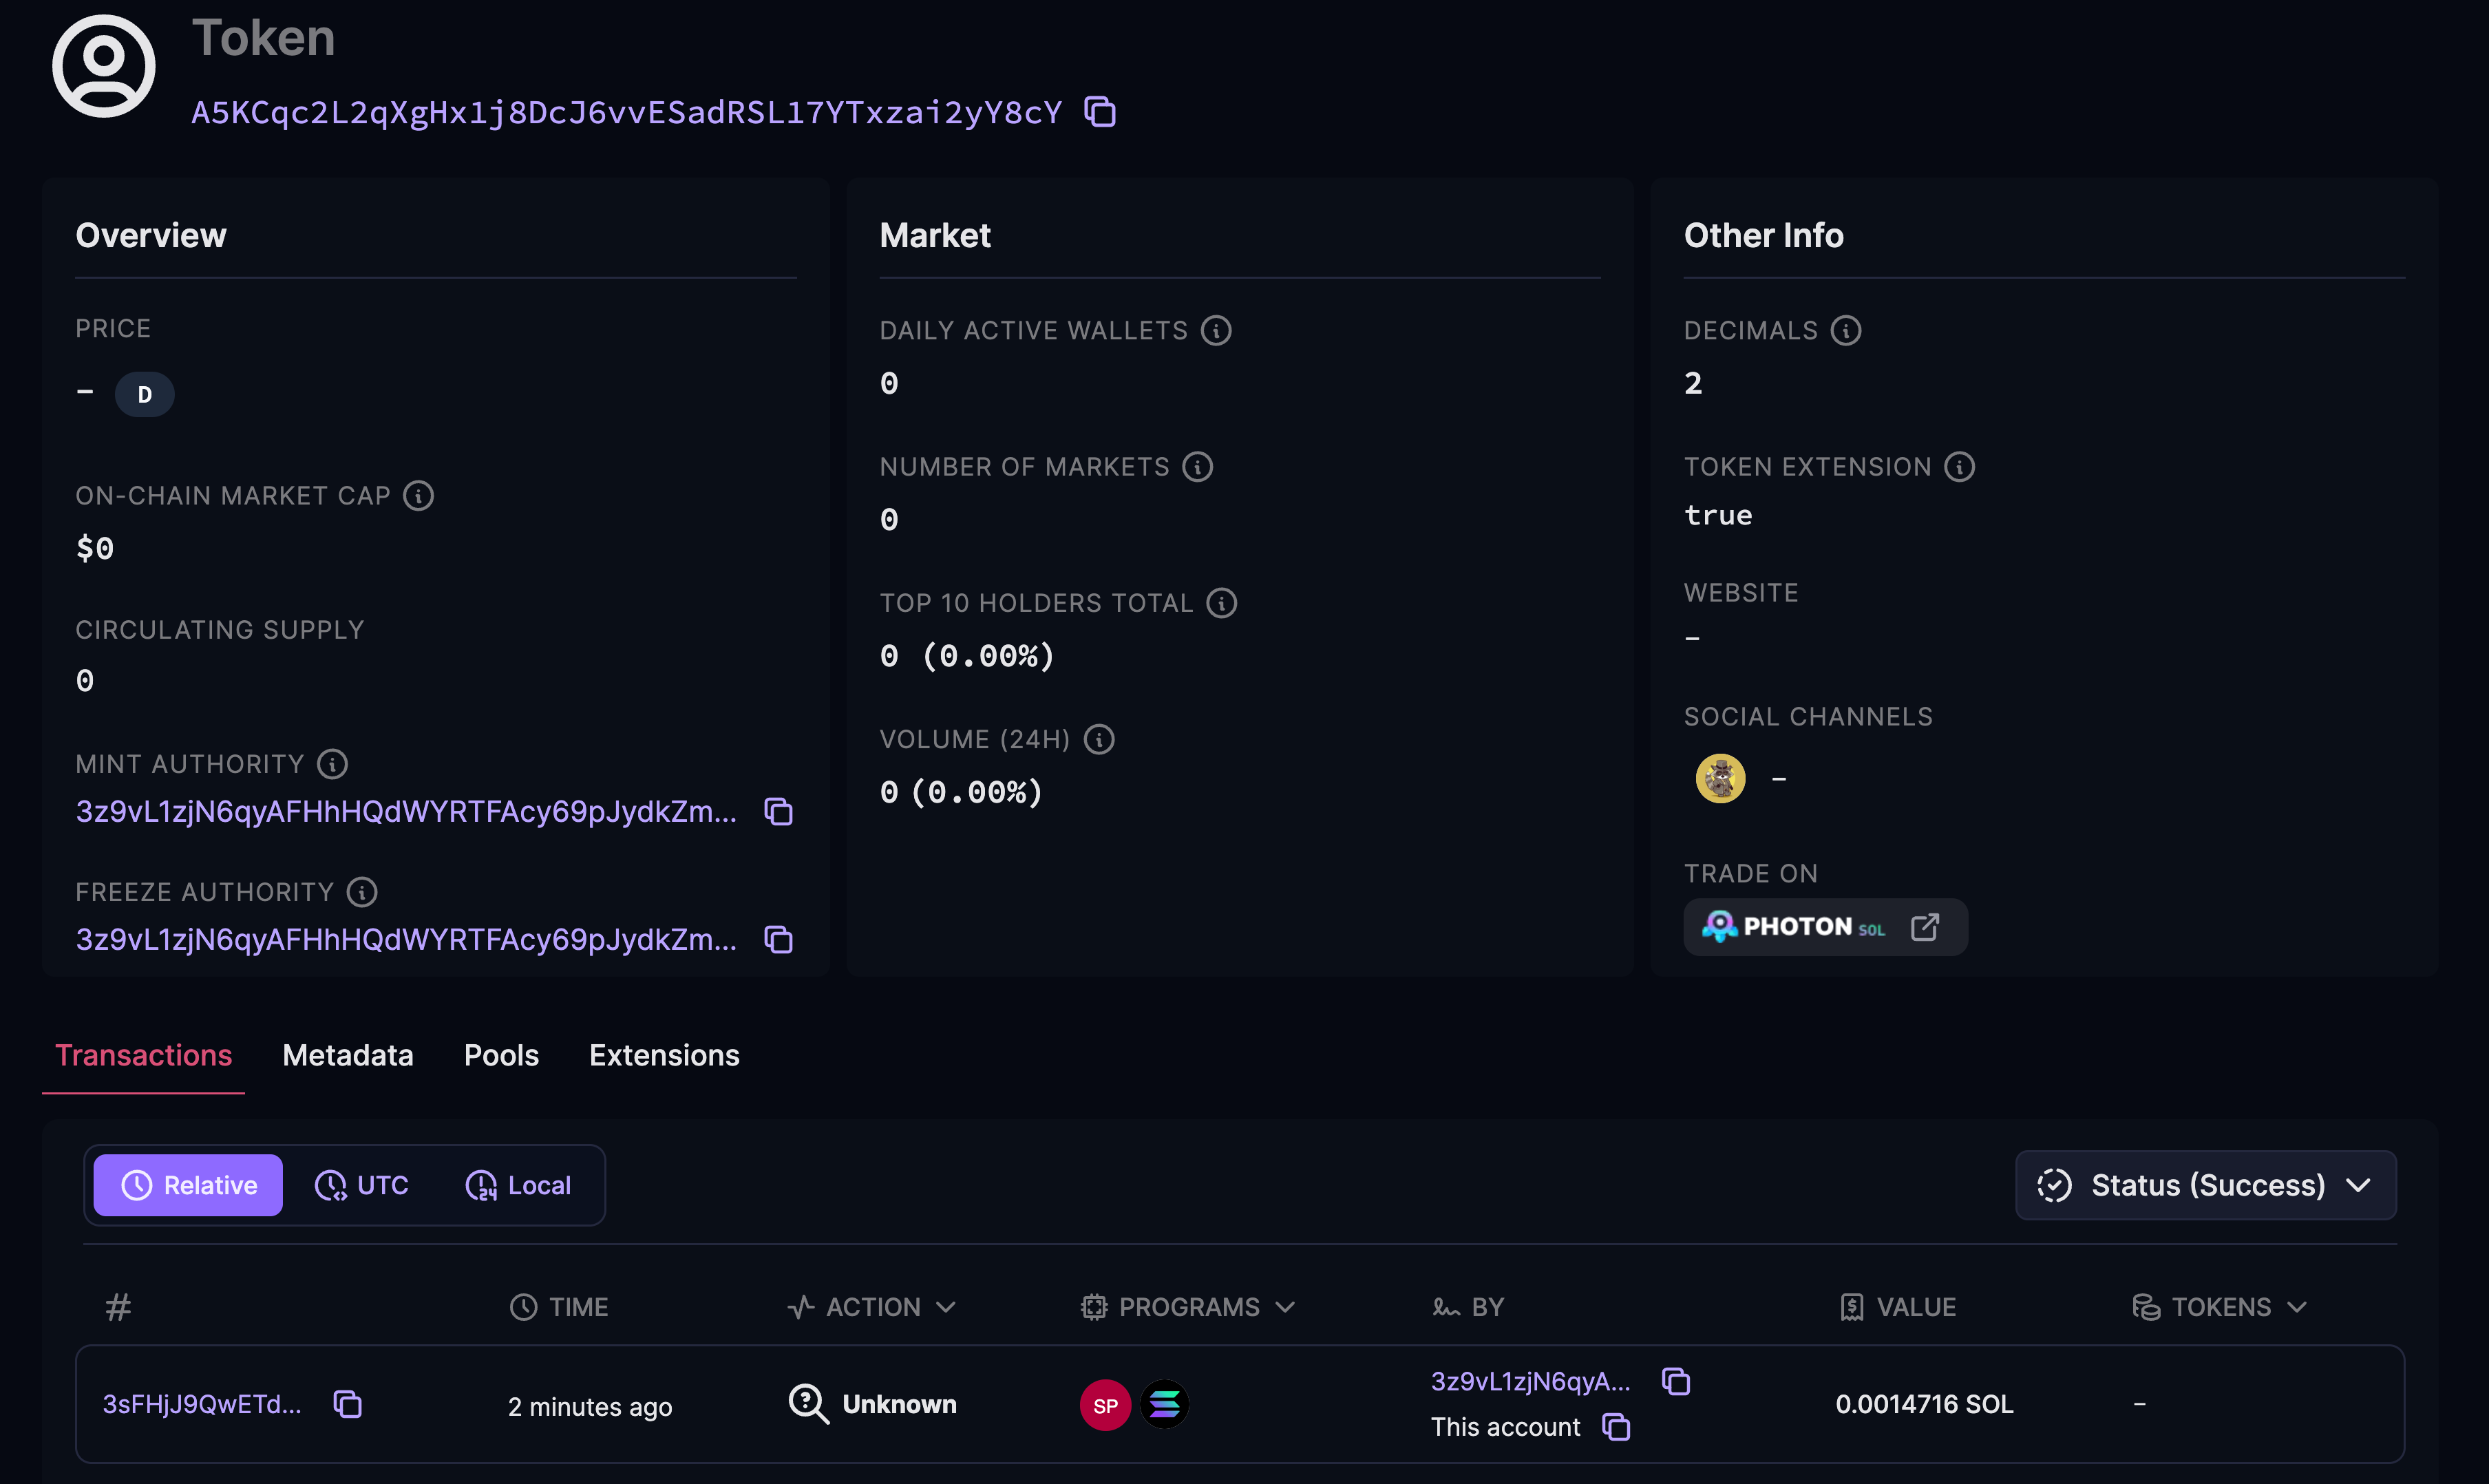
Click the links to inspect the transaction details and the newly created mint account on SolanaFM.
Running client...
  client.ts:

Transaction Signature: https://solana.fm/tx/3BEjFxqyGwHXWSrEBnc7vTSaXUGDJFY1Zr6L9iwLrjH8KBZdJSucoMrFUEJgWrWVRYzrFvbjX8TmxKUV88oKr86g?cluster=devnet-solana

Mint Account: https://solana.fm/address/CoZ3Nz488rmATDhy1hPk5fvwSZaipCngvf8rYBYVc4jN?cluster=devnet-solana


Notice how we built a transaction with multiple instructions this time. We first created a new account and then initialized its data as a mint. This is how you build more complex transactions that involve instructions from multiple programs.